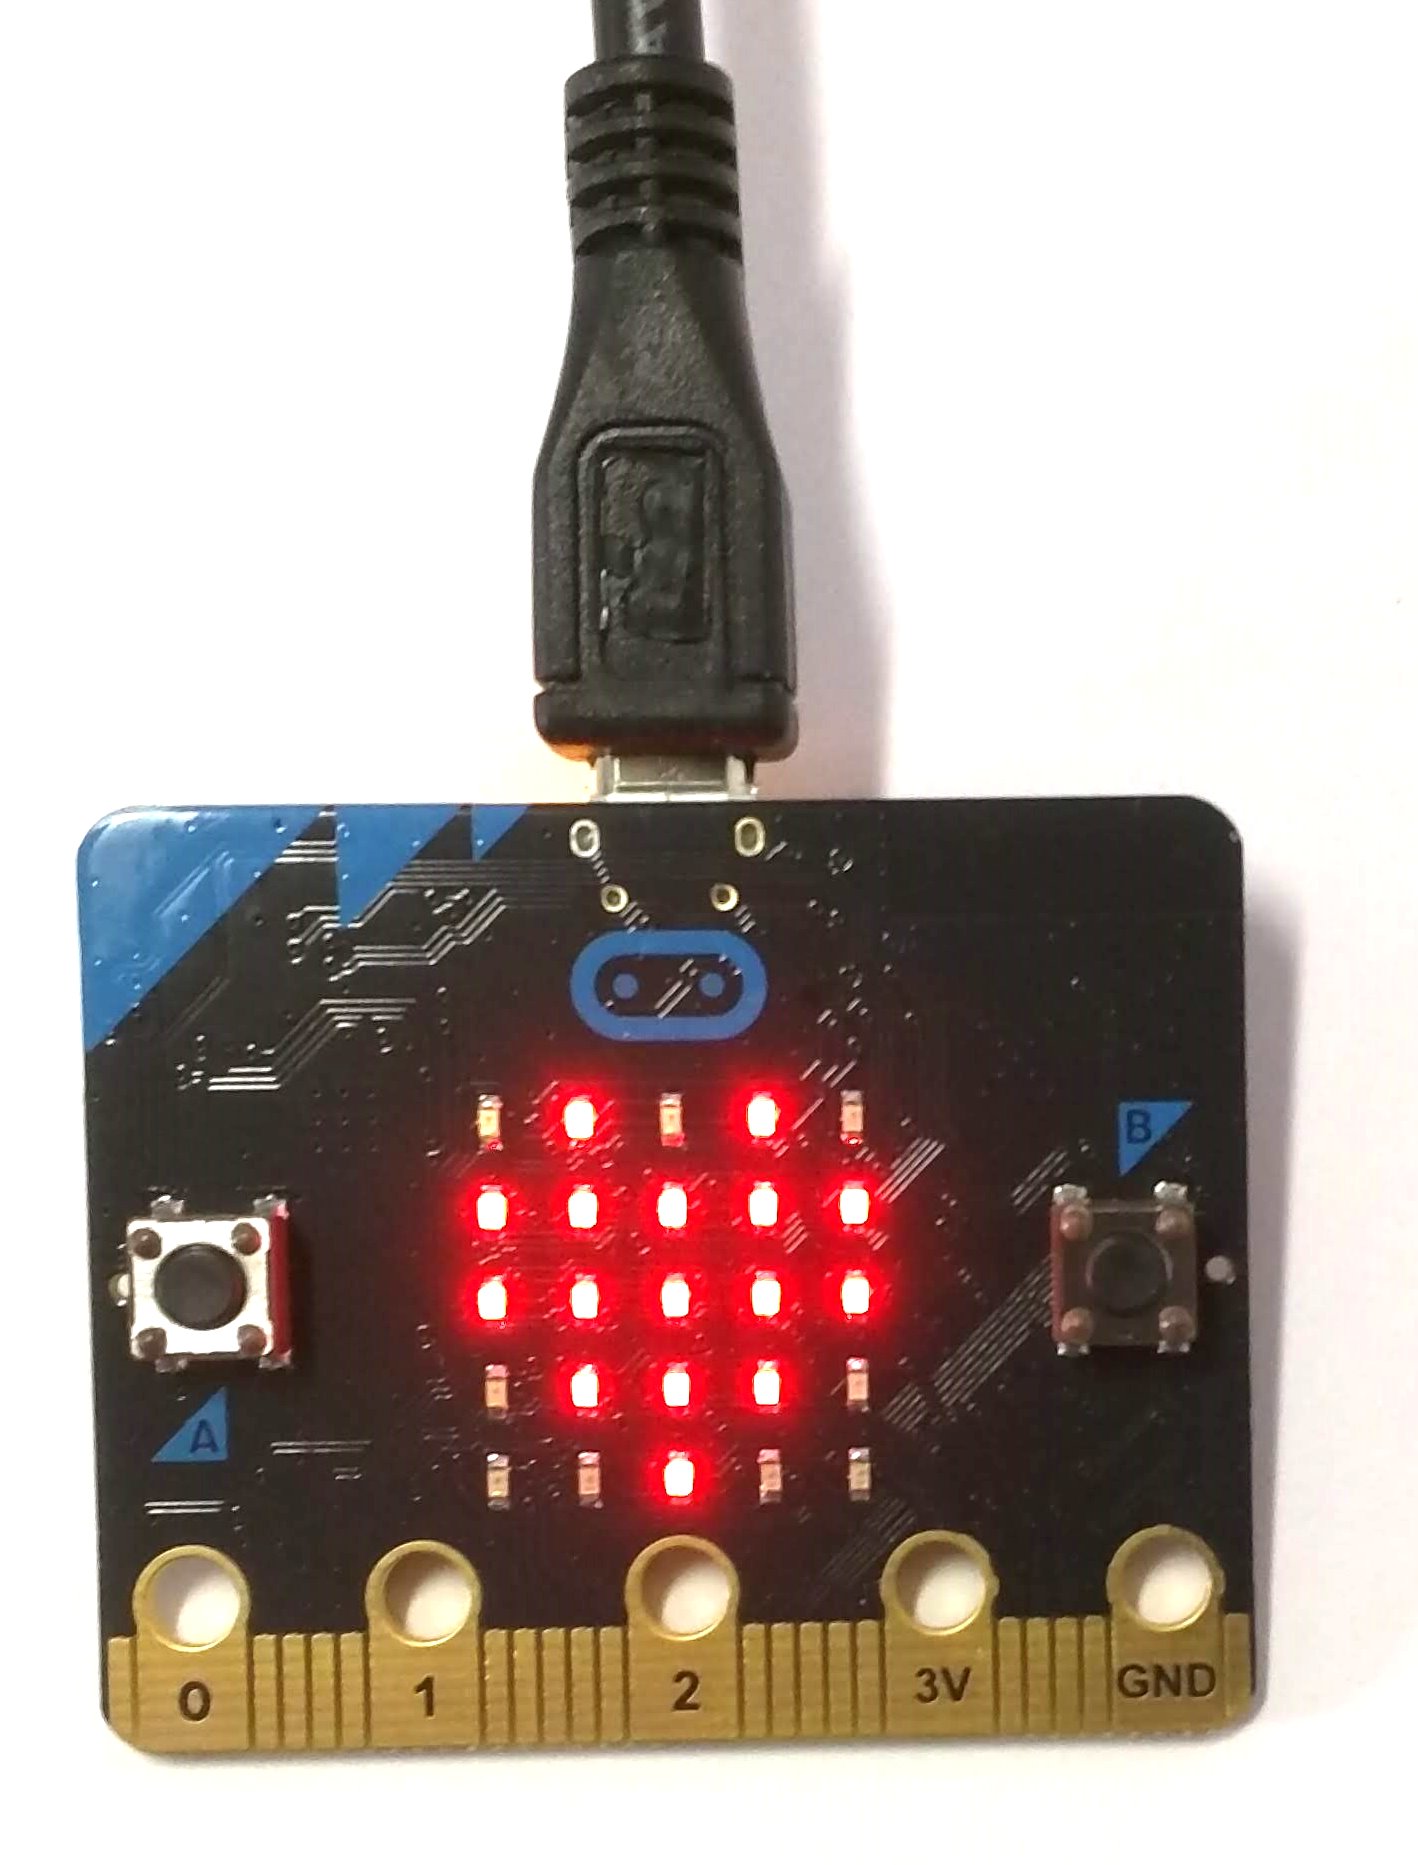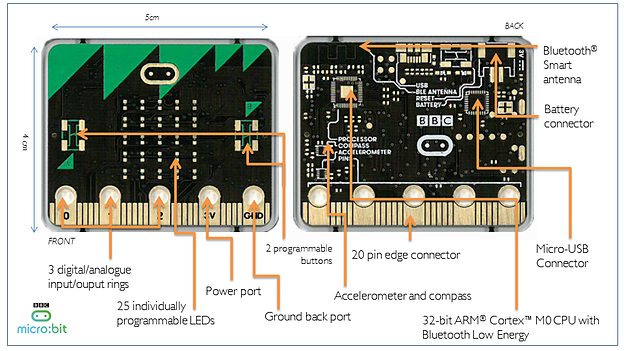
The BBC Micro:bit is a tiny little computer that runs Javascript programs. It will be our introduction to controlling the world from our web page. You can get one for as little as $15 from places like SparkFun Electronics, Adafruit, Amazon.com, or Fry's Electronics.
At 5 centimeters by 4 centimeters, (2 inches by 1.5 inches), it is about half the size of a credit card. It has a number of sensors and outputs which we will be playing with shortly.
The programming environment for the Micro:bit is online at "https://makecode.microbit.org/#". Since it has a simulator built-in to the software, you can write code and get it working even before your Micro:bit arrives in the mail (assuming you bought yours online).
When you first see the Micro:bit programming website, it looks like this:

To create our first program, we click on the New Project icon. The web page now looks like this:
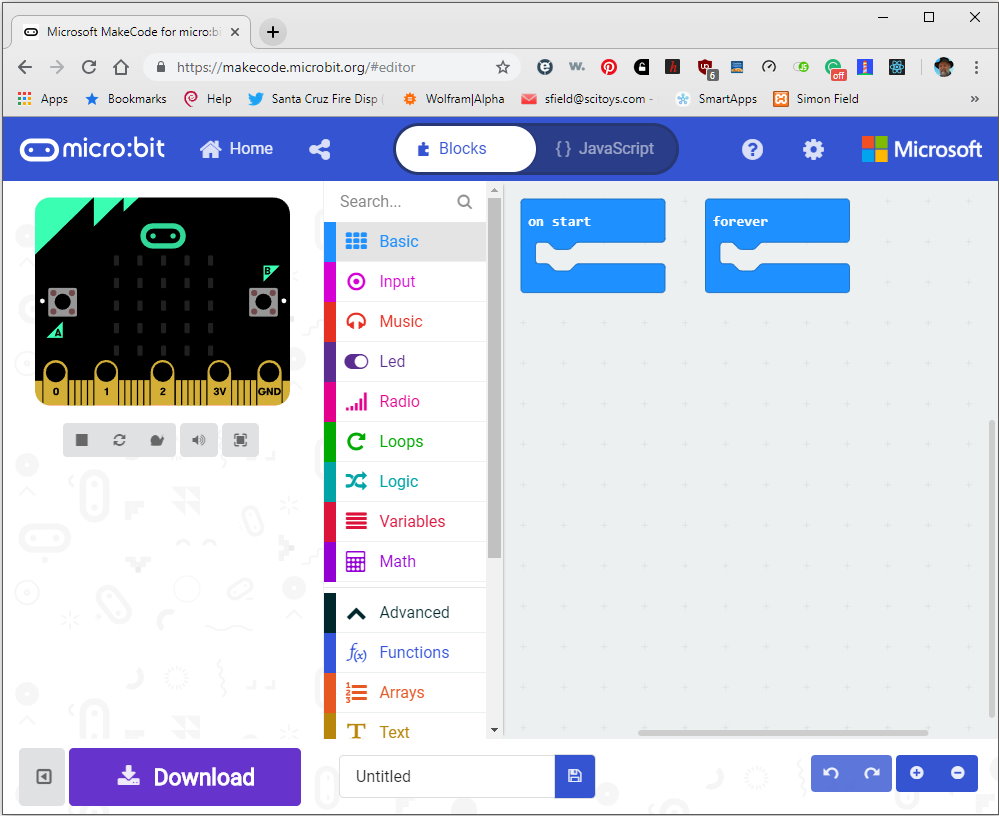
We are in Blocks mode. Note the word Blocks up at the top in the middle of the screen. Later we will click on the word Javascript next to it, to see our program in its Javascript form. But for now, we will be programming with blocks.
In the upper left corner of the page, we see an image of a Micro:bit computer. This is the simulator. We can run our program on the website and watch the lights on the simulator change. We can poke at the buttons on the simulator and see our program react. We can even shake the simulator (more on that later).
In the middle of the page, we see a list of block categories, starting with Basic. To the right of that is our workspace, and there are already two blocks sitting there, one labeled "on start", and the other one "forever".
At the bottom of the page is a Download button, and a text box with the word Untitled in it, followed by a button with an image of the ancient storage device known as a floppy disk, which somehow has become the universal symbol for saving files, despite most of the people using the Micro:bit having never seen a floppy disk before.
Our first program will be as simple as we can make it. We are going to draw a picture using the LED lights.
We first click on the Basic category in the top middle of the page.

A panel pops out to the right, covering part of our workspace. The panel contains some blocks in the "basic" category. These blocks are used in most programs, and they let us control what is shown on the lights, and control when our program runs. The third block down is the one that says "show icon" and has a picture of a heart on it. We are going to drag that block to the right and drop it onto our workspace.
![]()
The block turns pale gray bordered by yellow because it isn't connected into the program yet. We now click on it and drag it into the middle of the "on start" block so that it clicks into place there.

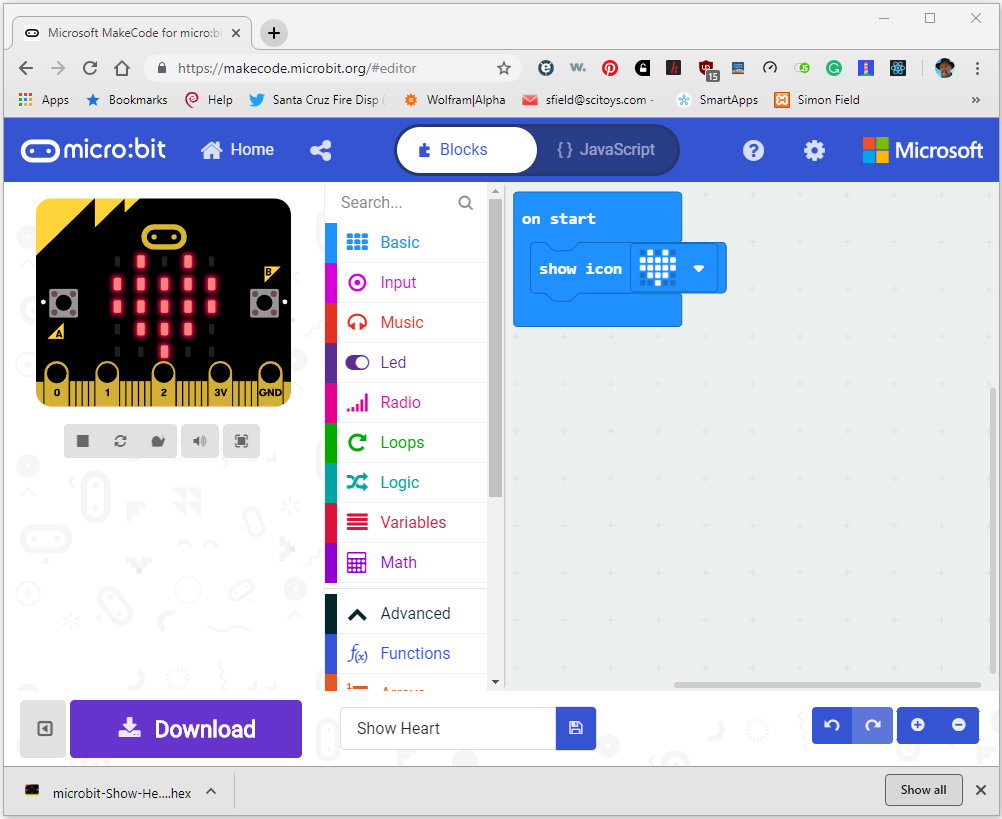
Notice what happened in the simulator. It is already running our program! The lights now form a heart shape.
We won't be using the "forever" block, so we can click on it and drag it back to the left into the middle column. A trash can icon appears, and we can drop it, thus getting rid of it.
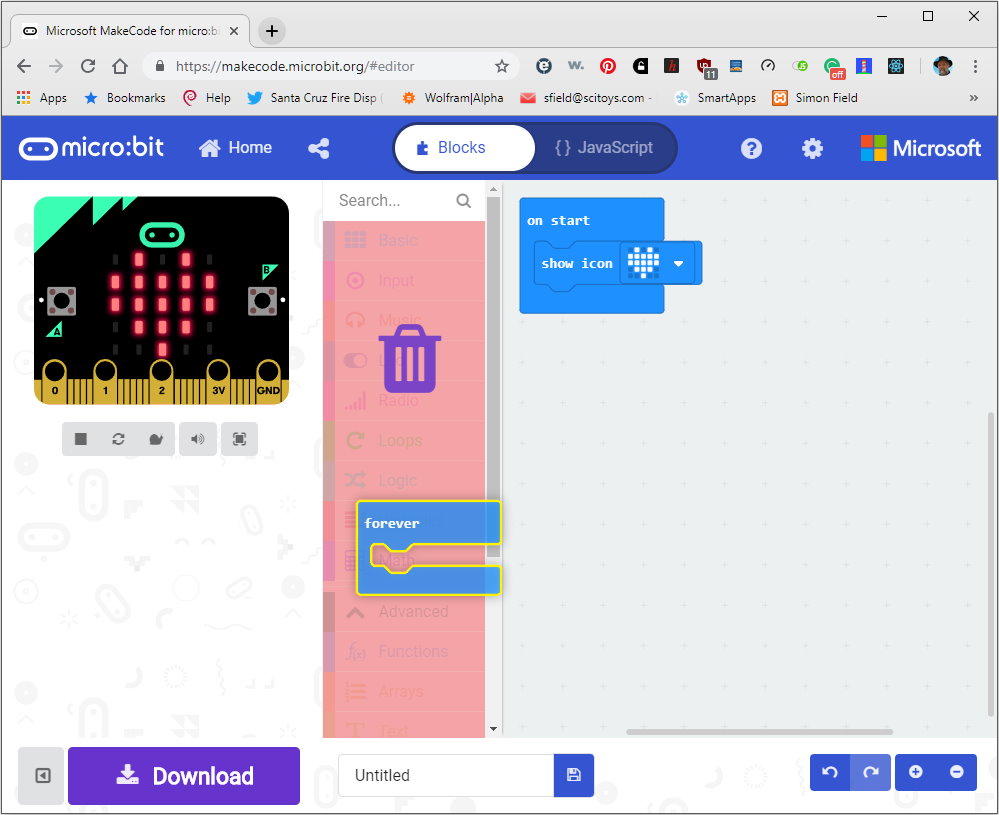
Our workspace now looks like this:

That is the simplest program I could think of to use as our introduction. But we learned how to drag blocks into the workspace, connect them up into a program, and watch it run in the simulator.
Before we download it into a real Micro:bit, let's first save it by typing a name (such as "Show Heart") into the text box at the bottom that currently says Untitled, and clicking on the button to the right, which we will call the save button. This causes our program to be compiled into a binary file that the Micro:bit can execute. That file is then downloaded onto your machine, and named "microbit-Show-Heart.hex". We can see the downloaded file at the bottom left corner of the window.
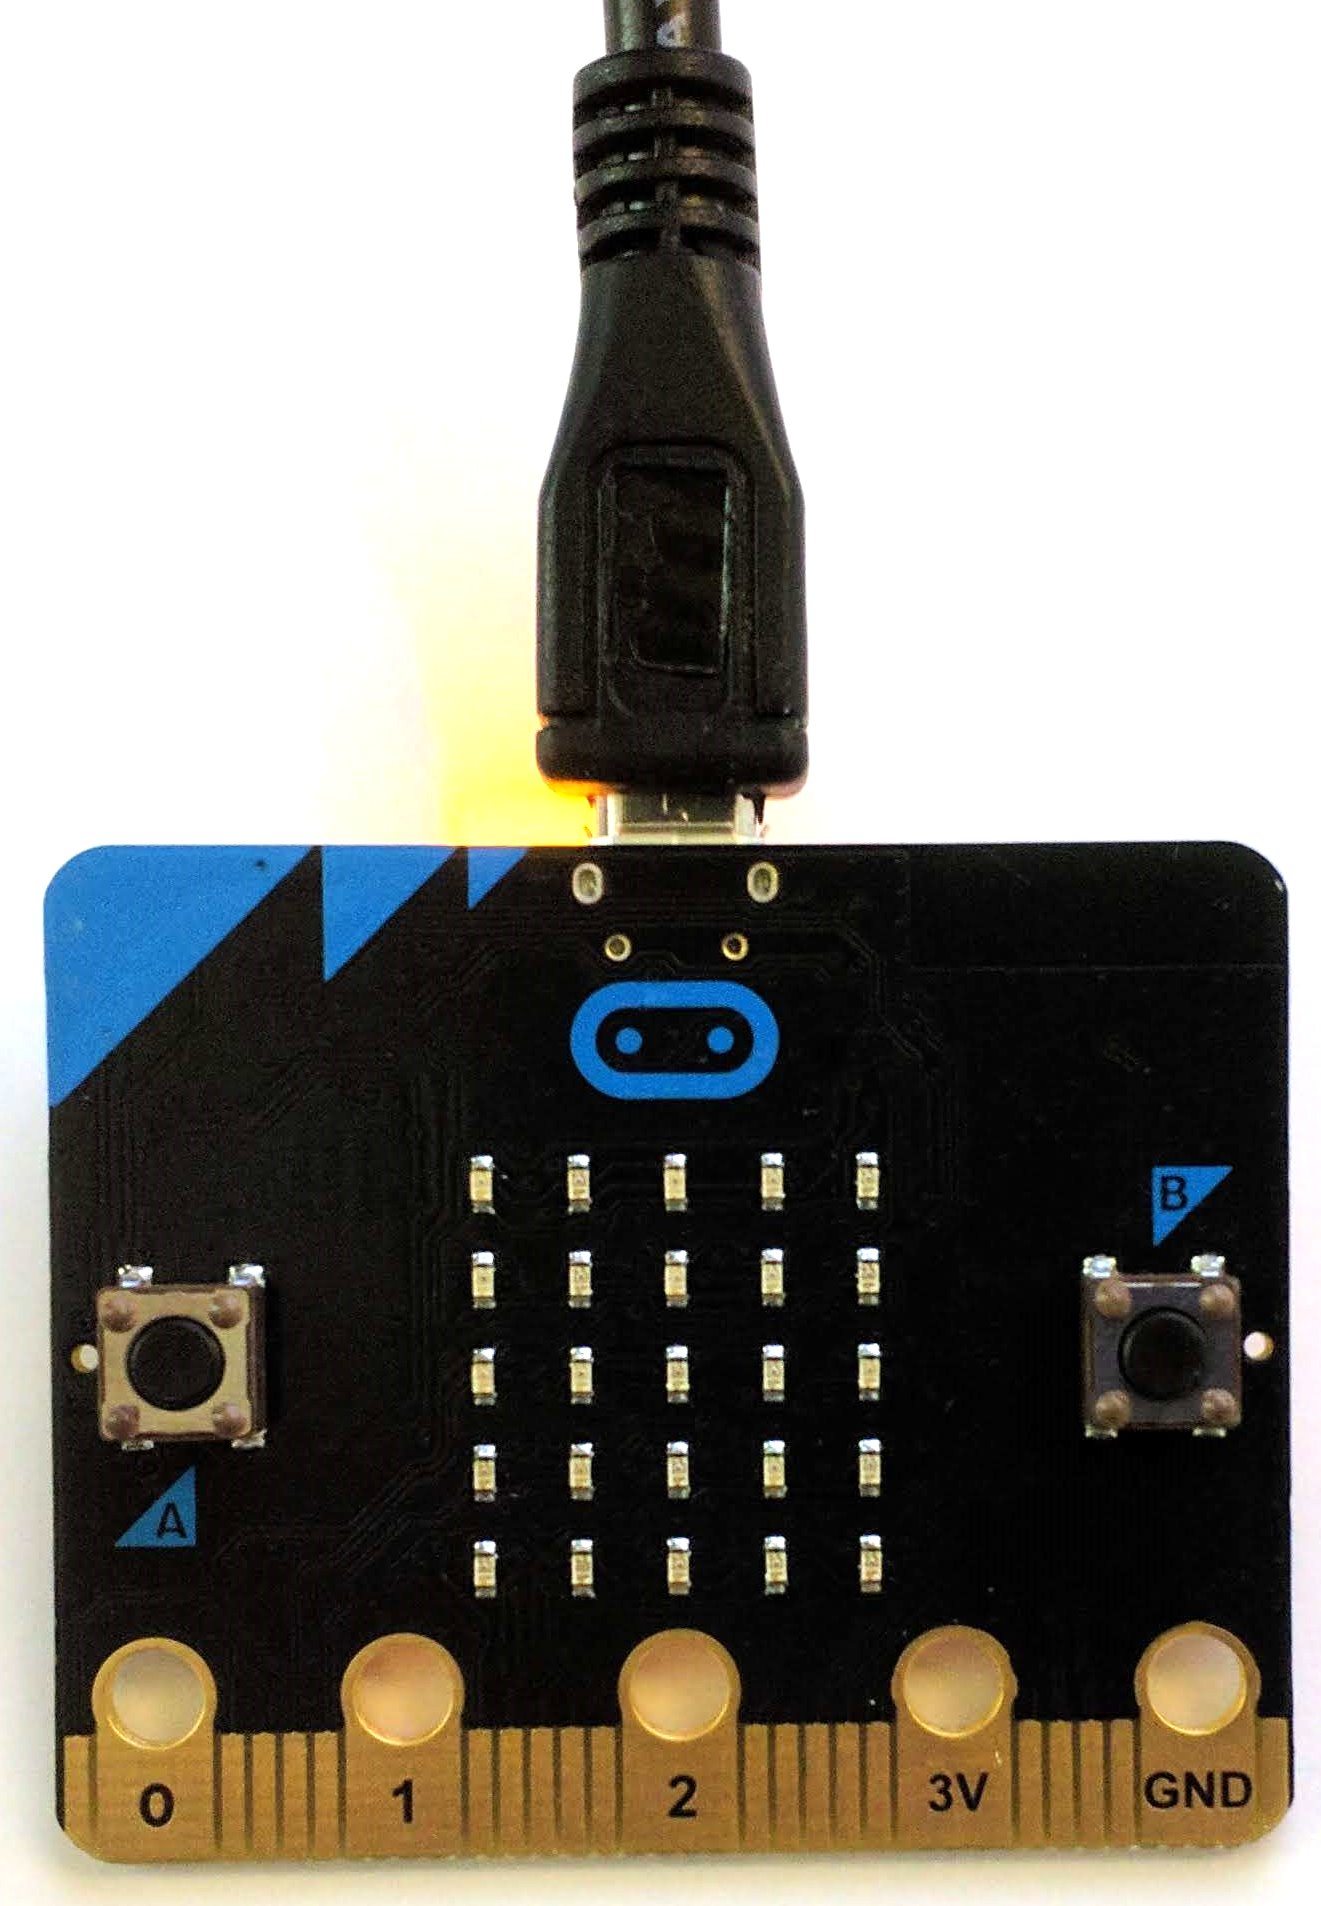
Now it is time to plug our Micro:bit computer into a USB cable connected to the computer we downloaded our program onto.
The yellow light comes on at the back to let us know it has power and is ready to accept our program.
On the big computer, a new drive shows up, called MICROBIT. This is what it looks like on my Windows machine:
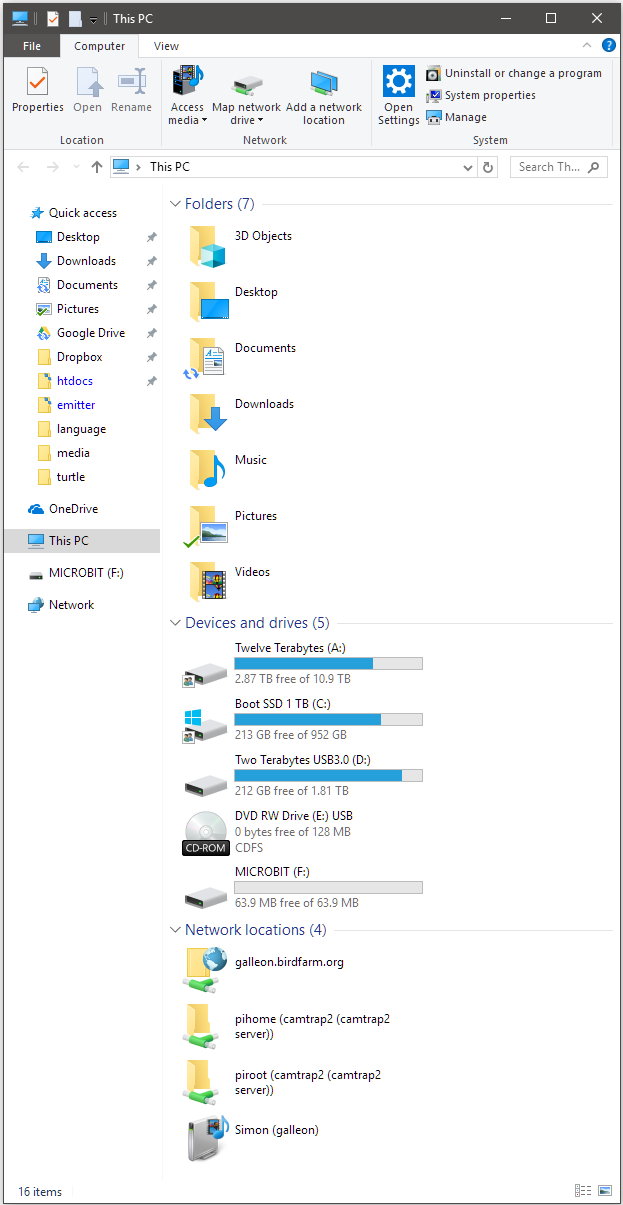
When you have dragged the "microbit-Show-Heart.hex" file onto the MICROBIT drive, the yellow light on the back of the Micro:bit starts flashing, indicating that it is storing the program into the Micro:bit's memory. When the yellow light on the back stops flashing, you will see a heart icon on the red front lights.
